
Configure the Home Assistant BACnet integration
After setup, click Configure on the integration card. A menu opens with three entries. Changes take effect immediately: the integration reloads by itself.
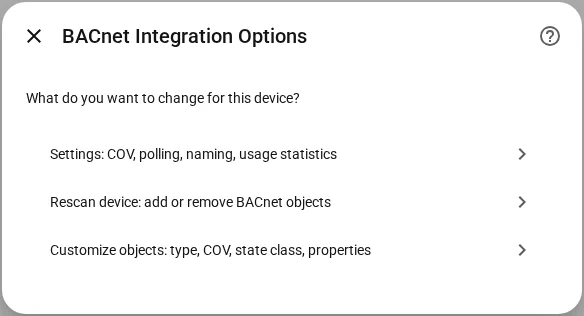
- Settings: COV, polling, naming and usage statistics.
- Rescan device: add or remove objects. See Rescan device.
- Customize objects: settings per object. See Customize objects.
Settings
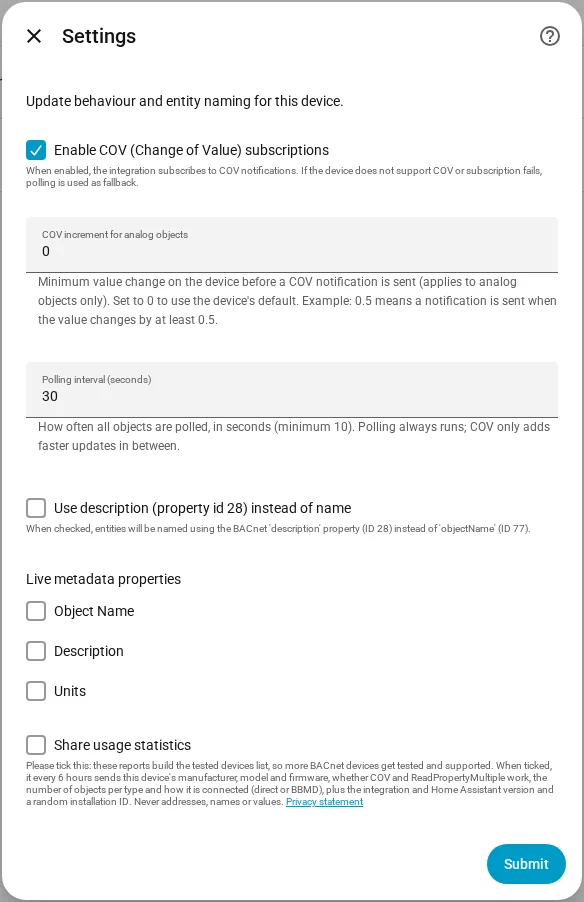
| Option | What it does | Default |
|---|---|---|
| Enable COV | Use Change of Value subscriptions for real-time updates. The device sends a message when a value changes, instead of waiting for the next poll. Present values use the standard SubscribeCOV service, which nearly all controllers support. | On |
| COV increment | Minimum value change before a COV notification is sent (analog objects only). 0 uses the device default. | 0 |
| Polling interval | How often all objects are polled, in seconds (minimum 10). Polling always runs; COV only adds faster updates in between. | 30 |
| Use description | Name entities after the BACnet description (property 28) instead of objectName. | Off |
| Live metadata properties | Opt in per property (object_name, description, units) for a live push update. See Live metadata properties. | None |
| Share usage statistics | Every 6 hours, send this device's manufacturer, model, firmware and a few counts. See Privacy and usage statistics. | Off |
If a device does not support COV, or a subscription fails, polling takes over for that object. Nothing needs to be configured for that.
Note: If you set COV increment above
0, the value is written to thecovIncrementproperty of each imported analog object (with COV) whose device value differs. This is the only setting that makes the integration write something without you switching an entity. The default0leaves the device value alone.
Live metadata properties
By default, changes to an object's metadata on the device (objectName, description, units, stateText, limits) are picked up within about an hour, or sooner if the object has active COV traffic. The Refresh object metadata button (under Configuration on the device page) checks immediately.
To see such changes at once, enable one or more properties under Live metadata properties. This uses the BACnet SubscribeCOVProperty service to get a push the moment the property changes. Keep in mind:
- It is a separate COV subscription per property, per object. Three properties on 20 objects add 60 subscriptions on top of the 20 used for live values. Many devices allow far fewer subscriptions.
- Not every device supports it. Unsupported properties or devices silently fall back to the periodic re-read, without an error.
Rescan device
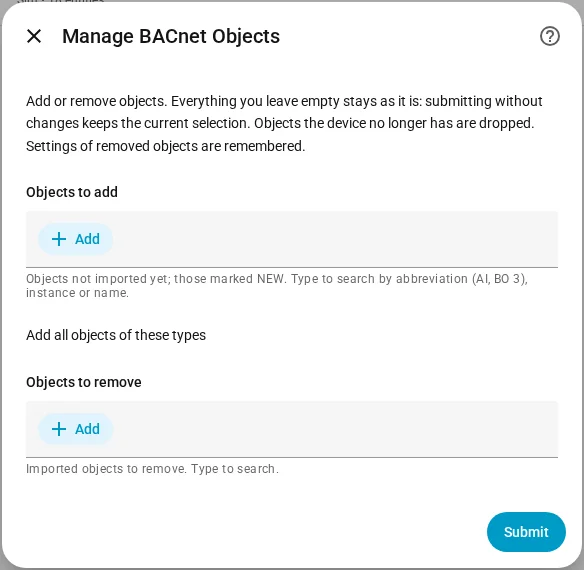
Re-reads the device's object list so you can add or remove objects. The page has three fields, all empty by default:
- Objects to add: objects not imported yet, marked NEW.
- Add all objects of these types: with the number of objects per type.
- Objects to remove: imported objects to drop.
Both object fields are searchable by abbreviation (AI, BO 3), instance or name. Submitting without changes keeps the current selection; objects the device no longer has are dropped. Settings of removed objects are remembered and come back if you add the object again. Next comes Customize objects, so new objects can be set up right away.
Customize objects
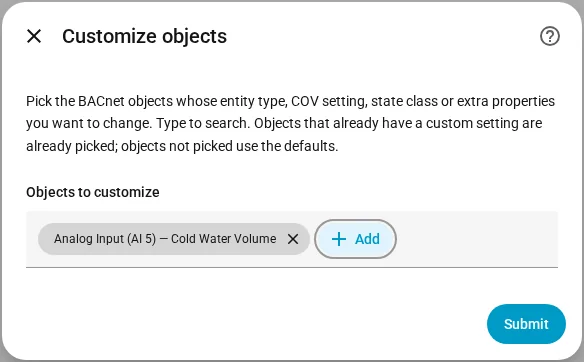
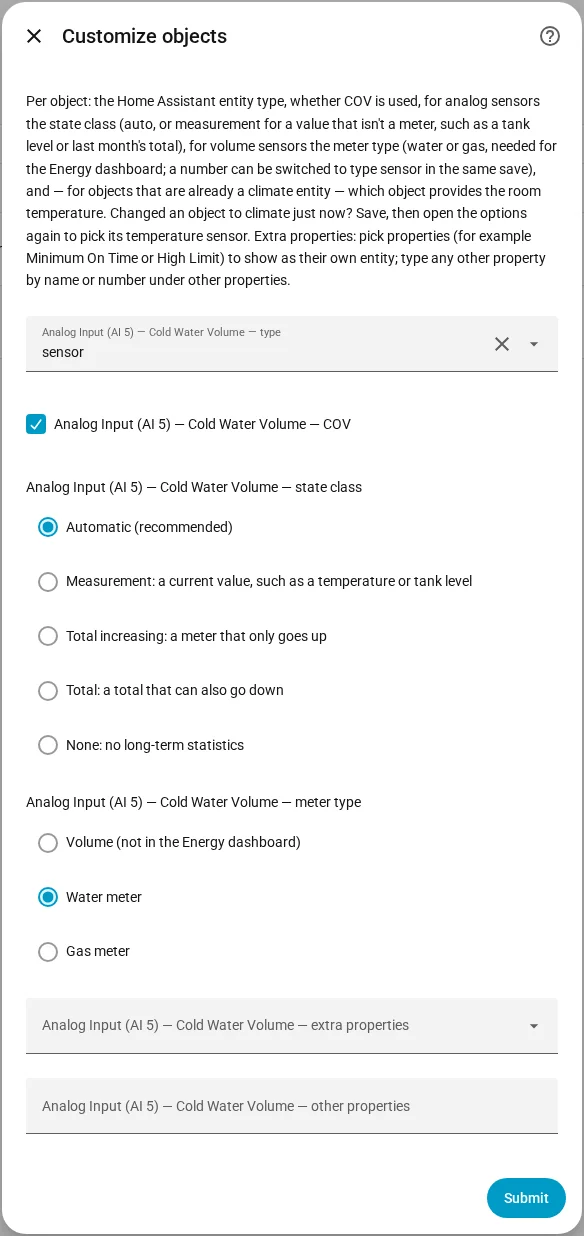
This page has a searchable list of your objects. Pick the ones you want to change; objects that already have a custom setting are already picked. The next page shows, for just those objects:
- type: the Home Assistant entity type:
sensor,binary_sensor,switch,number,climate, orselectfor multi-state objects. - COV: use COV for this object, overriding the device-wide Enable COV setting.
- temperature sensor (climate objects only): the object that provides the room temperature. See Climate.
- extra properties: other properties of the object to show as their own entity. See Extra properties.
- other properties: any other property, typed by name (
inactiveText) or number, separated by commas. These become read-only sensors. - state class (analog objects shown as a sensor or number; it applies once the type is
sensor): how Home Assistant keeps long-term statistics. Automatic gives Measurement, or Total increasing for energy (J, kJ, MJ, Wh, kWh, MWh) and volume (mL, L, m³, ft³, gal) objects, so meters work in the Energy dashboard. Pick Measurement for a value that is not a counter, such as a tank level in m³ or a "last month" energy total. Total is for a meter that can also go down. None turns statistics off. - meter type (analog objects in a volume unit: mL, L, m³, ft³, gal): Water meter or Gas meter makes the sensor a water or gas sensor, which the Energy dashboard needs before it offers it. BACnet units cannot tell water from gas or from a tank level, so the default stays a plain volume that the Energy dashboard does not list. Flow rates (L/h, m³/h, …) need no setting.
Step by step: Water meter and Energy meter. The Energy dashboard only lists sensors. A writable Analog Value is a number by default, so set its type to sensor in the same save.
Objects you do not pick use the defaults, described in Entities and attributes.
Note: A Value object is a
switchornumberonly if it is commandable. Versions before 1.0.47 could save the wrong type when you saved the options. If that happened, a Repairs message offers to reset those objects to their defaults or to keep them. Keep them when you chose the type on purpose, for example a Binary Value without a Priority Array that still accepts writes.
Reconfigure
To change the local IP address, port, BBMD settings or the device address, open the ⋮ menu of the integration entry and choose Reconfigure. Entities, their history and all options are kept, and the integration reloads with the new settings.
Device information
During setup the integration reads the identity of the device and shows it in the Home Assistant device registry:
- Manufacturer from
vendorName(property 121) - Model from
modelName(property 70) - Software version from
applicationSoftwareVersion - Firmware version from
firmwareRevision